#Messenger #Bag #Tutorial #FreeTutorial.net
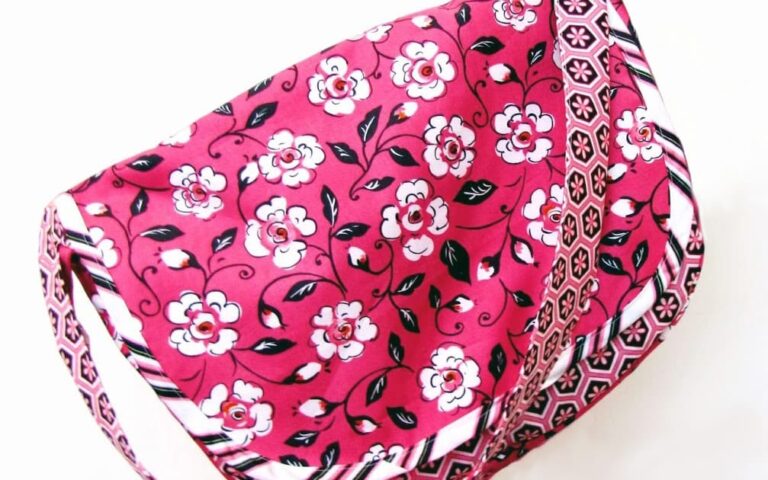
This bag features a front flap with velcro closure, a roomy interior, and some large front pockets. You could pad this and it would make a great laptop bag. Those front pockets would be perfect to organize folders.
You will need:
Main Fabric: 1 1/4 yards
Lining Fabric: 1 1/4 yards
Contrast Fabric: 1/2 yard
Interfacing: 2-3 yards, depending on the thickness of your fabric and how sturdy you want the bag to be
Scrap of Velcro
Sewing Supplies (thread, scissors, etc)
Optional: Cutting mat and cutting wheel
Start by cutting out your pieces. Here are the measurements I used for my bag.
Bag Piece (cut 2 of main fabric and 2 of lining and 4 of interfacing): 18 1/2 inches by 14 inches
Flap Piece (cut 1 of main fabric and 1 of lining and 2 of interfacing): 17 1/2 inches by 14 inches
Base Piece (cut 1 of main fabric and 1 of lining and 2 of interfacing): 45 inches by 4 inches
Strap Piece (cut 1 of main fabric and 1 of lining and 2 of interfacing): 45 inches by 4 inches
Pocket 1 (cut 1 of lining fabric): 18 1/2 by 9 inches
Pocket 2 (cut 1 of contrast fabric): 18 1/2 by 11 inches
Bias strips (contrast fabric): Cut it 2 inches wide. I didn’t measure the length, I just kept cutting until I thought I had enough. 2 1/2 to 3 yards should be plenty. You can also substitute a package of 1/2 inch wide double fold bias tape.
Round the bottom corners of each bag piece, each flap piece, and each pocket.
Attach the interfacing to the wrong side of each corresponding piece. If you have a sturdier fabric (like a home decor weight) you can interface only the main fabric pieces. I wanted my bag to be pretty sturdy, so I interfaced both the main and the lining pieces.
You can cut the interfacing a little large, then trim it once you’ve attached it to your fabric.
Fold your bias strips in half and press.
Unfold and press the outside edges in to the fold line. You can skip these two steps if you’re using packaged bias tape.
Open up your bias strip and match it to the top of one of your pocket pieces. The RIGHT side of the bias strip should be together with the WRONG side of the pocket.
Turn the pocket over and fold the bias strip over the front of the pocket. Topstitch close to the fold of the bias tape to enclose the top raw edge of the pocket. Repeat for the other pocket.
Line up the two pockets with one main bag piece and baste the outside edges of the pockets to the bag.
Match the strap pieces wrong sides together. Sew along each long outside edge, leaving the ends open.
Turn right side out and press. Topstitch along the long edges.
Sew a strip of Velcro to the front through just the top pocket.
With right sides together, sew the main base piece to the front bag piece.
Sew the back main bag piece to the base piece.
Repeat for the lining bag pieces and lining base piece.
Sew the other half of the Velcro to the front flap piece you don’t want to show when the flap is closed.
Match the two flap pieces WRONG sides together and baste together around the sides and curved bottom edges.
Finish the edges of the flap with bias tape, the same way you did for the pockets.
Here is the front flap. The top edge will be enclosed in the bag, so you don’t need to finish the edge.
Turn the main bag right side out. Pin the raw edges of the strap to the raw edges of the top of the base on the main bag. Make sure the strap doesn’t twist.
Pin the flap to the back edge (the side without the pockets) of the main bag with the velcro side showing. Baste the straps and the flap to the bag.
Insert the main bag into the lining.
Sew around the top edge of the bag, leaving the front open to turn.
Turn the bag right side out and stuff the lining down inside the bag. Fold the raw edges along the top in, and topstitch closed to finish.
Enjoy your new bag!


